Capturing Landscape and Travel Photography with Your Smartphone
June 10, 2018
In order to build a landscape photography portfolio, it is vital that you consider where you can take photos of, generally this will not be in your backyard but you will need to travel to exciting and interesting locations, and it is possible to take great photos with your smartphone. Being able to travel is a special opportunity on its own, which is why it’s so important that you can record the experience with plenty of quality photographs wherever you go. There’s no doubt that you’ll run into many amazing landscapes and breathtaking monuments and historically important sites that you simply must take a photo of.
Unfortunately, not everyone has the budget for a DSLR or mirrorless camera to capture fantastic photography that could be used as wall art. However, there is a very high chance that you have a smartphone that still has an excellent quality camera built-in. It is also the perfect travel companion as you will always have it with you, often the best camera someone has is the one with them! All you need to know is how you can leverage its camera and some other tricks on getting fine art photography-level pictures with it. Here are 7 tips for great photography with your smartphone.

Free Up Your Memory Space
It is important that before you go away on your trip that you have plenty of free memory on the smartphone so that you won’t get stuck in that special moment without a full memory problem! Most phones allow a cloud-based storage option, but you will know the best workflow that suits your purposes. As I use the iPhone I have all of my phone cameras backed up into iCloud and just store the low-resolution versions on my phone if I’m running out of space.
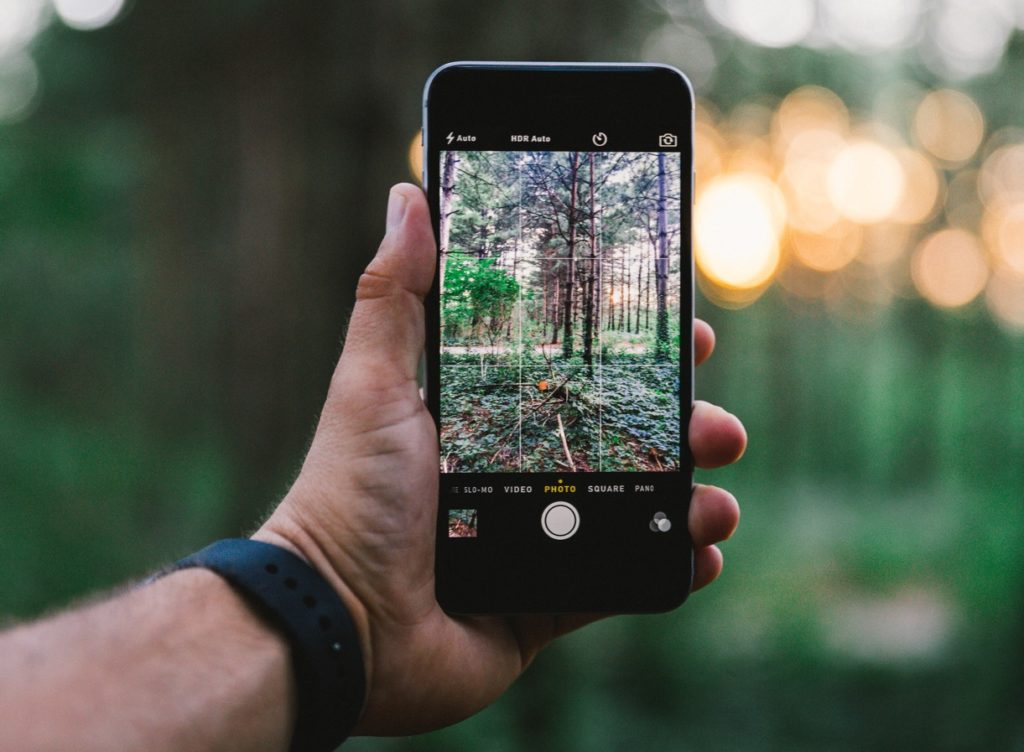
What about the forward-facing camera?
The front camera of smartphones was originally developed for the purpose of taking self-captures and initiating video calls. It’s the rear cameras that are made for aspiring photographers to take great shots because it has a higher megapixel range and angle of view.
The resolution is also much clearer so you won’t end up with blurred, pixilated pictures when you decide to print them out. Furthermore, the rear camera has better focus, and it is advanced enough to strike a balance between the colours and lighting of a scene. That being said, the front camera can be great for those awkward positions when you are trying to get a quick selfie into your album!
Get a Tripod
The downside of using your smartphone to take travel pictures is that they can snap photos very quickly, which means you end up taking multiple shots, none of which are worthy of being hung up as photography wall art.
Your smartphone won’t have a processor that’s as powerful as a professional camera so it becomes likely that you take photos that are blurry and not as sharp as you had hoped. By keeping your phone steady, you can take photos that have better resolution and more detail as well.
You can try holding your phone steadily with your hand, but it won’t be possible if you’re out of breath tired. That’s why I recommend you get a tripod that can help you take pictures without shaking. Even a monopod will help since you can get greater stability when all your fingers aren’t positioned at different angles. There also plenty of small, lightweight tripods that could be suitable for balancing your phone on a shelf or ledge to get that steady shot.
Choose the High Dynamic Range option
Landscape photography is a challenge on its own, so it can become an even more difficult task when you have to capture complex exposure tones, hues and contrasts with a smartphone. Taking pictures of landscapes, compared to other travel photos, can be tricky because of the way that natural light can affect the way that your picture ends up looking; you may see unbalanced highlights and shadows that result in an overall underwhelming shot.
In these situations, you should change the setting of your smartphone camera to High Dynamic Range or HDR. While in this setting, you’ll get a photo with balanced light and dark features that are less likely to overpower each other.
Your smartphone camera does this by taking three separate pictures at different exposure levels before merging all of them into a single picture.
Make the most of the available light
Landscape photography revolves around leveraging different types of natural light, the seasons and the time of the day. That being said, your angle can greatly impact how your smartphone perceives natural light in the picture.
The kind of lighting and angel you adopt can influence the type of scene you’re setting and the message you’re conveying through your picture. Hence, experiment with composition techniques and placement of your picture subject. Most smartphone cameras work better when there is plenty of light and you aren’t shooting directly into the sun.
Go Manual
It’s crucial that you take travel and landscape photos while in manual mode because smartphone cameras are usually calibrated to be on Auto mode which is designed to automatically make dark features even darker and light aspects much lighter.
What you’re looking for is a balance between the ‘lights’ and ‘darks’, which can be achieved if you shoot while in Manual mode. This is also beneficial for taking pictures in dimly-lit places where you need optimum focus and use minimal lighting.
Even if you can’t calibrate shutter speed and ISO settings like in a DSLR, you can still use settings on your phone that can set the shutter speed, white balance and other aspects based on whether you’re outdoors or not, and whether it’s nighttime. Often these settings are accessible through third-party apps if they are not available in the default camera application.
Panorama All The Way
Let’s not forget that smartphone cameras have cool features like the ability to capture a panorama shot. You can benefit from this feature and capture an amazing view of a panoramic landscape. Even though it’s a little difficult to get the hang of taking panorama pictures, there’s no harm in trying and getting some practice.
They do work best when you are not super close to the scene, otherwise, you may end up with some unusual distortion if objects are too close.
Final take away
Now, it’s time to go out and try out all these tips to practice landscape photography with your smartphone. The only thing you need is plenty of practice before you’re ready to go on a trip of your own and take some pictures worthy of sharing with friends and family. Be creative and savour each shot because no two pictures are the same when a beautiful landscape lies in front of the lens. Finally, make sure you have fun!