5 Common Landscape Photography Mistakes
April 7, 2019
Like all types of photography categories, there are some common mistakes that can be easily avoided to ensure you take better photographs. As a landscape photographer, when you are out and about ready to get that awesome photograph, there are many small things you need to remember so that you don’t go away disappointed with the experience or your photographs! With so many elements to remember, sometimes it’s the obvious things that are easy to forget when you are trying to get that perfect shot. Here are some common landscape photography mistakes that photographers often make in their landscape photos. Hopefully, it will provide you with some tips so you can avoid the same ones! If you think of some other tips that I should mention in a future article, please feel free to drop me a line on my contact page.
1. No stability – Use a tripod
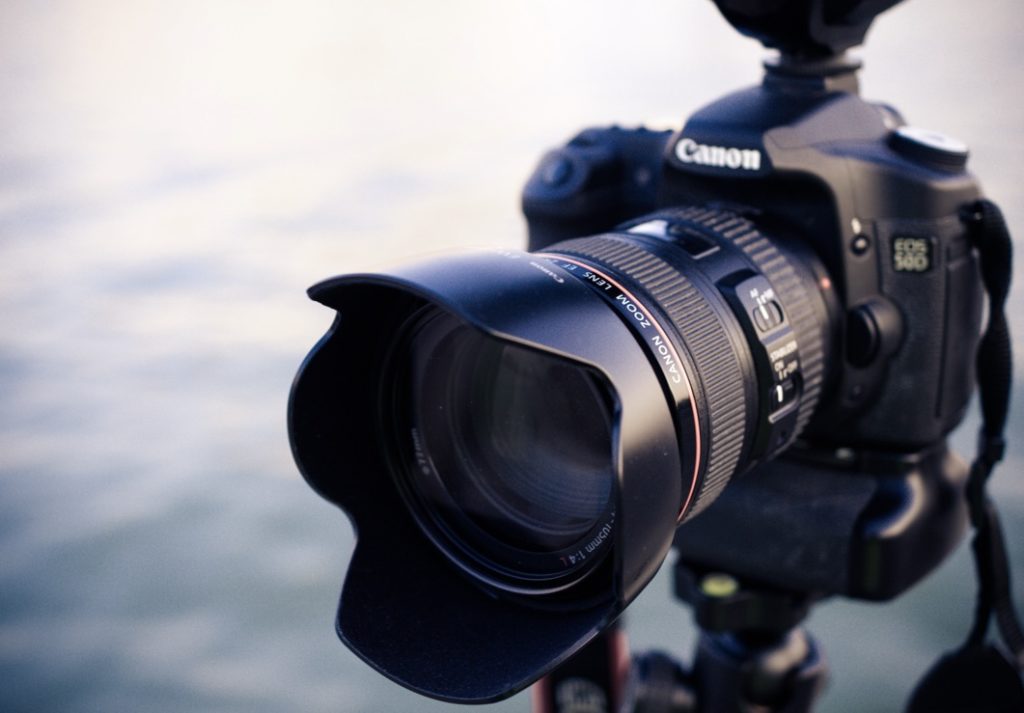
While blurry images can be used for artistic effect, that’s not often what you are after when you out on location! So there are of course times when a blurry image will provide a nice abstract, artistic result, however, my approach when taking landscape photographs is to produce an image that is very sharp and in focus. When I say sharp as well, I mean throughout the image. Often the best results are when you are using a slower shutter, low ISO (reducing noise in the image) and a medium speed aperture such as between f8 and f11. The best way to end up with a sharp image is obviously to keep the camera as still as possible. Therefore a steady and solid tripod is critical to this.
As I’ve mentioned before, I use a Sirui tripod, and the model is actually the W-2204 which is a waterproof tripod. It is made out of carbon so it is light, however, it is still rock solid. It also has the ability to adjust the legs at various angles as it is unlikely you will ever be able to find a perfectly flat platform to shoot from, well unless it is a man-made lookout.
There are different tripods for different purposes of course as well. If I am traveling overseas and need to pack a bit lighter I will take a travel tripod that isn’t as sturdy, however, I can compensate for that with things like using the hook in the centre of the tripod and attaching my camera bag to weigh it down and keep it still. Bottom line, my advice would be to buy the best tripod you can, as you will be keeping it for a long time if it is the right one, otherwise, you will soon find yourself wanting to upgrade to a more steady one.
Most cameras these days will allow you to control the shutter via a remote release, either via one that is plugged in via a cable or a dedicated remote. This will also allow you to remove any camera shake from when you push the shutter release button. A cable release will also be required if you are doing long exposure photographs at night, such as of the milky way/stars as you may find yourself doing long exposures, perhaps even up to 30 minutes, like my Lone Tree Vortex photograph I took in the outback of Central Australia.
2. Crooked horizon
While this can be corrected in post-production it is so much easier if you can correct it on the spot, and that is keeping your camera level so that the horizon is straight. The issue though is that when you have to fix it later on the computer, you may need to crop out part of the edges as you straighten it in post.
Many good tripods will have a spirit level built into the tripod so that you can make sure it is level, but also cameras often have a built-in level so you can ensure it is level before you take your shot. Combine that with using the viewfinder screen in live mode and you can quickly adjust the tripod so it’s nice and level. If your camera doesn’t have a built-in spirit level you can also buy little cubes that have spirit levels in them that you attach to the hot shoe on the top of your camera.
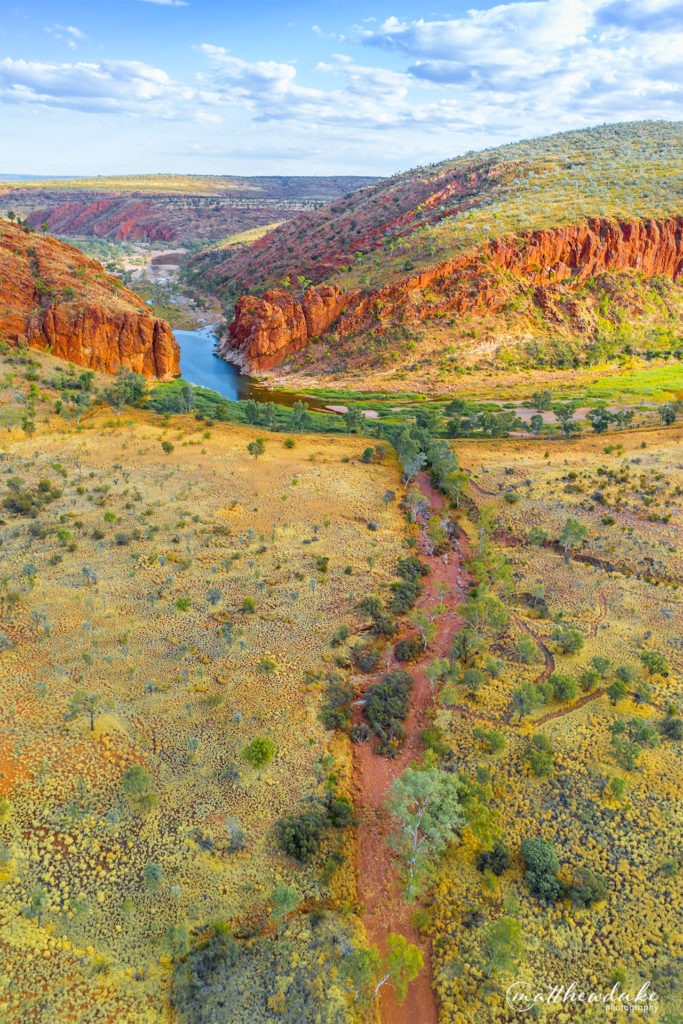
3. Try Portrait orientation
Often when people are taking a landscape photograph, they think it needs to be in ‘landscape’ or the horizontal orientation. Often though a portrait photograph will work better, especially if there is some interesting foreground or spectacular sky to include.
Usually, when I am shooting I will try both horizontal and vertical orientations to provide a variety of options later on.
4. Use of Empty Space
When taking a photo usually its important to follow the well-known rule of thirds, however sometimes that doesn’t always provide the best results. For example, if you are filling a third or more of the photo with a flat sky that is uninteresting then it may actually result in an uninteresting photograph overall. If the sky is doing nothing in particular then look for a different angle and make sure you are filling the frame with something interesting in the foreground.
The same also applies if there is a very interesting sky, perhaps an amazing sunset and there isn’t much happening in the foreground, fill more of the frame with the sky.
5. Using the wrong aperture
If taking a photograph of a typical landscape scene there will often be a large depth of field in the shot, ranging from the foreground all the way to the distant horizon. As such it is important that the correct aperture is being used. If taking the photograph at f/2.8 then only a small part of the scene will be in focus, where using a f/8-f/11 setting will provide a more balanced representation of the scene with a greater amount in focus.
These are just a few things that need to be considered, make sure you take a minute to check them when you are next out trying to get that spectacular landscape photograph!
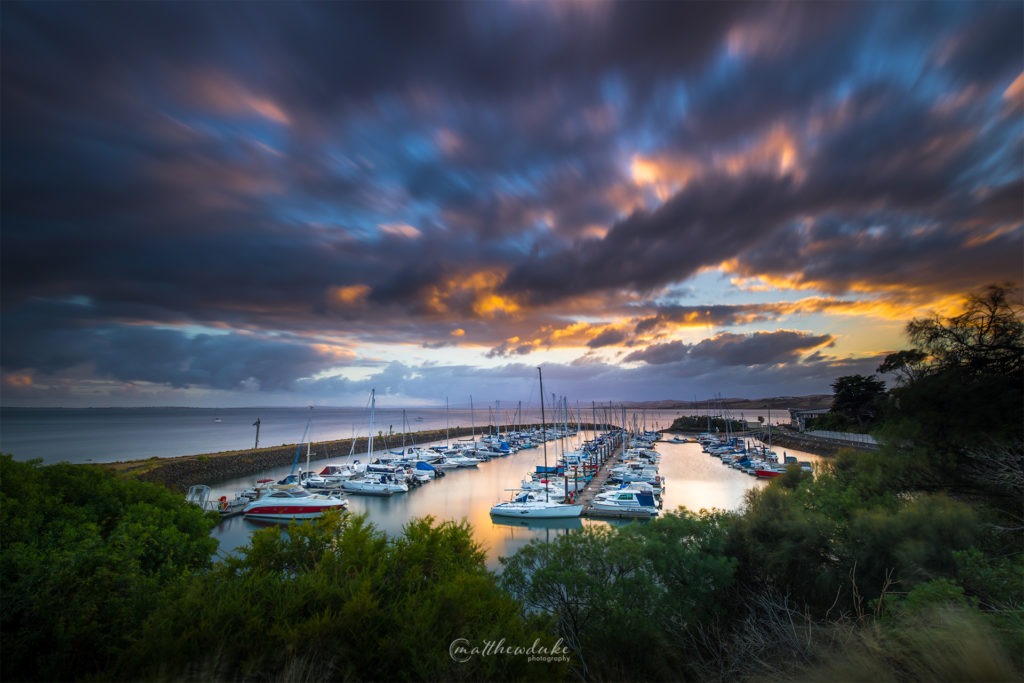
Philip Island Marina Landscape Photograph
Final bonus tip
Make sure you are shooting using the RAW setting on your camera if you want to have the absolute control of all of the settings of the photograph when you are back at the computer and editing your image. While RAW files will take up more space than JPG on your memory card, this is because they are uncompressed and have all of the information available at the time the photograph was taken. This is a topic for a full article itself, however, if you want to take your images to that next level, consider shooting in RAW mode for your landscape images. You will need to also check that you have software that can open a RAW file to edit it appropriately to get the result you are happy with.
Landscape Photography FAQ
What is the best setting for landscape photography?
There is no one perfect best setting for landscape photography however it is generally important to use the lowest ISO setting you can according to your scene. In addition, the aperture setting is also important, so if you are unsure what shutter speed to use, set your camera to aperture priority and set it to between f/8 and f/11. Ensure you are using a tripod to keep your camera very steady.
What is the best lens for landscape photography?
Most people think that the widest lens is the best for landscape photography, however, it is also true that telephoto lenses are also excellent for landscape photography. As humans, we don't normally see a scene in wide-angle and using a telephoto lens allows us to focus our attention to a specific element of a scene.